by Angie Lavezzo, CFSA Communications Coordinator | Friday, Dec. 2, 2022 –
Paper packets and glass jars of all sizes can be used to store seeds.
There are many reasons we might have seeds left over at the end of the growing season. Buying in bulk, end-of-season sales, or saving your own seeds can leave us needing a storage plan. You have them, and now it’s important to preserve the quality of those seeds so they will germinate well for you for many years to come.
Before we talk about best practices, let’s talk about what seeds are, which may help us understand their needs.
Seeds are alive! Sure, they’re dormant, but if left in a hot garage or damp basement, they will die without ever breaking dormancy. Time is also a killer of seeds. Holding on to seeds for multiple seasons means that every year that goes by will yield less and less viability.
How much viability is lost depends on the species and storage conditions. While the species is not something we can control, we can do our best to mimic the conditions that create and maintain the dormant state of the seed. This can be broken down into three needs we need to understand.
Seeds need to be kept cool, dry, and dark. Neglecting any of these three factors can trigger the premature sprouting or decay of your seeds.
Cool
Temperatures between 35-40° Fahrenheit are optimal for most seed species.
Temperature can be difficult for folks who don’t have a walk-in cooler or a second fridge in their garage. If you do, great! Make some room towards the back of the unit where they will be less apt to feel the temperature fluctuations from the door opening and closing.
Freezer storage is an option and a good one if you have seeds that you know will be in there for longer than a season. The freezer will ensure that your seed remains dormant but can be risky if you lose power or plan to take them out often for inventory or planting. Thawing and refreezing are stressful for the seeds and may result in decay. Chest freezers are the best option for freezing because you can put them towards the bottom and leave them until you need them.
A note about freezer storage: if you are saving your own seeds, be extremely careful that you have taken the proper time to dry your seeds before storage. Putting seeds that are not completely dried down will cause leftover moisture to expand and will likely just kill the embryo contained within, rendering the seed useless.
When removing seeds from the refrigerator and freezer, it is important to remember to let the seeds reach room temperature before opening your containers. This will make sure that the seeds themselves won’t absorb the moisture generated by the thawing process.
If cold storage is not an option, the next best thing would be to find a place in your home that will provide a consistent temperature. Good options are a shelf in the basement, an interior closet, or under a bed (away from air vents). Fluctuations in temperature can imitate changing seasons, which may cue your seeds into premature development, so if you can’t keep them cold, keep them consistent.
Small ziptop bags can be good choices but will need extra protection from light.
Dry
Moisture may be the most important cue for seeds that it is time for them to start growing, so we want to store seeds very dry.
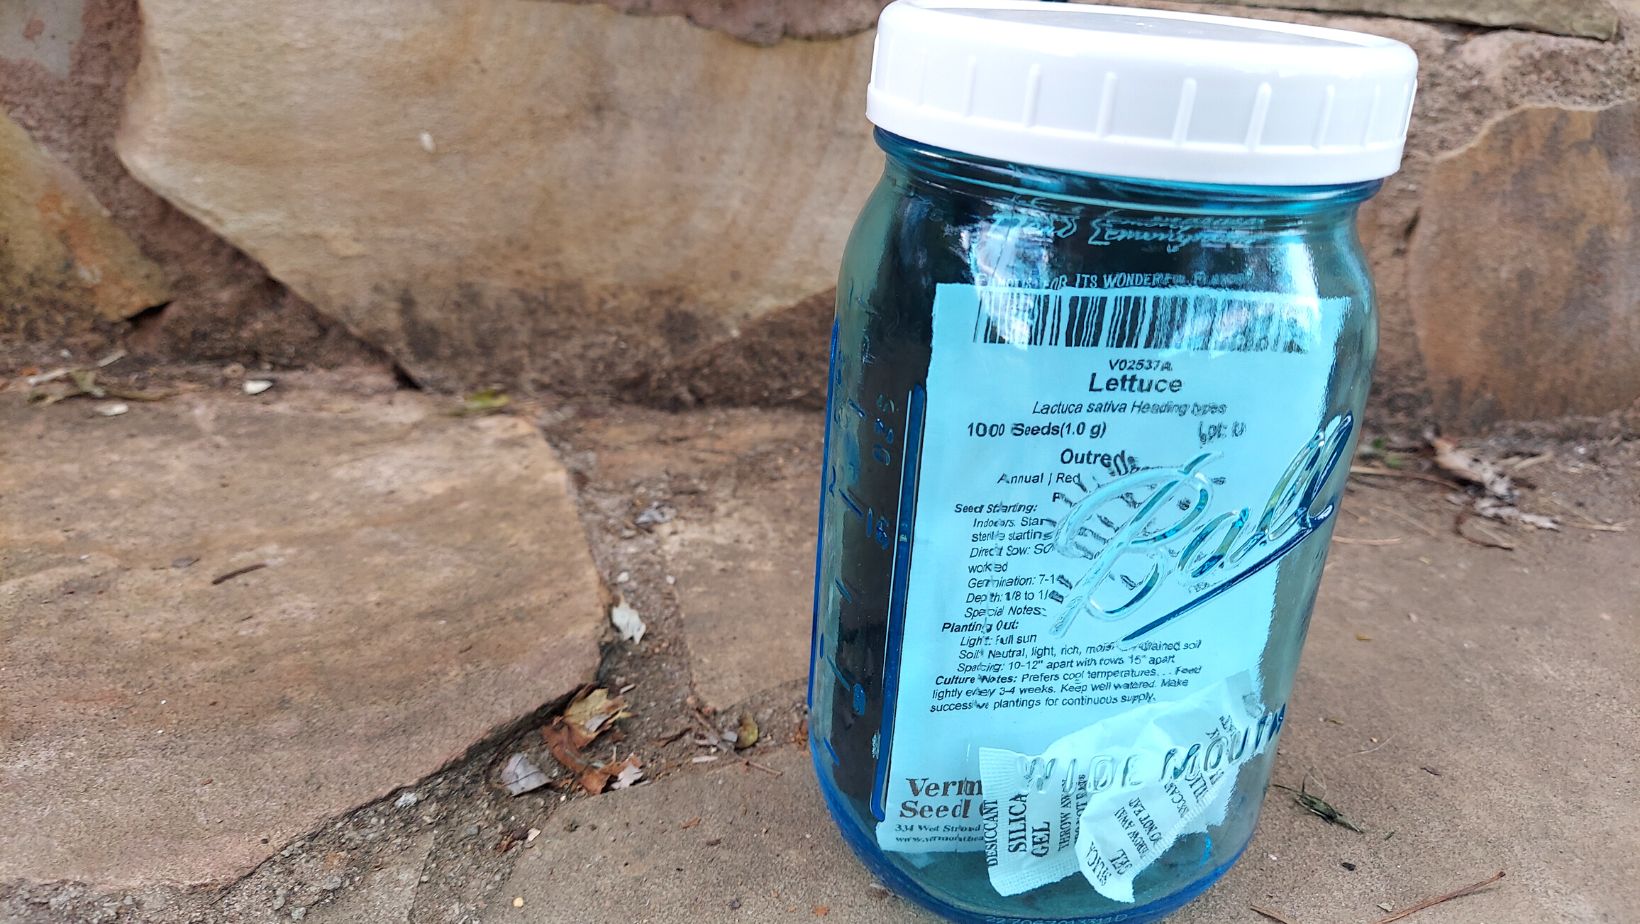
Water is essential for the sprouting process, and watering well is the first step when starting crops. Cool environments that are optimal for keeping seeds in dormancy are ripe for causing water to condense, so airtight containers will be your friend here. Mason jars are favorites with seed savers, while ziptop bags, freezer bags, and other plastic containers with tight-fitting lids will also do the trick.
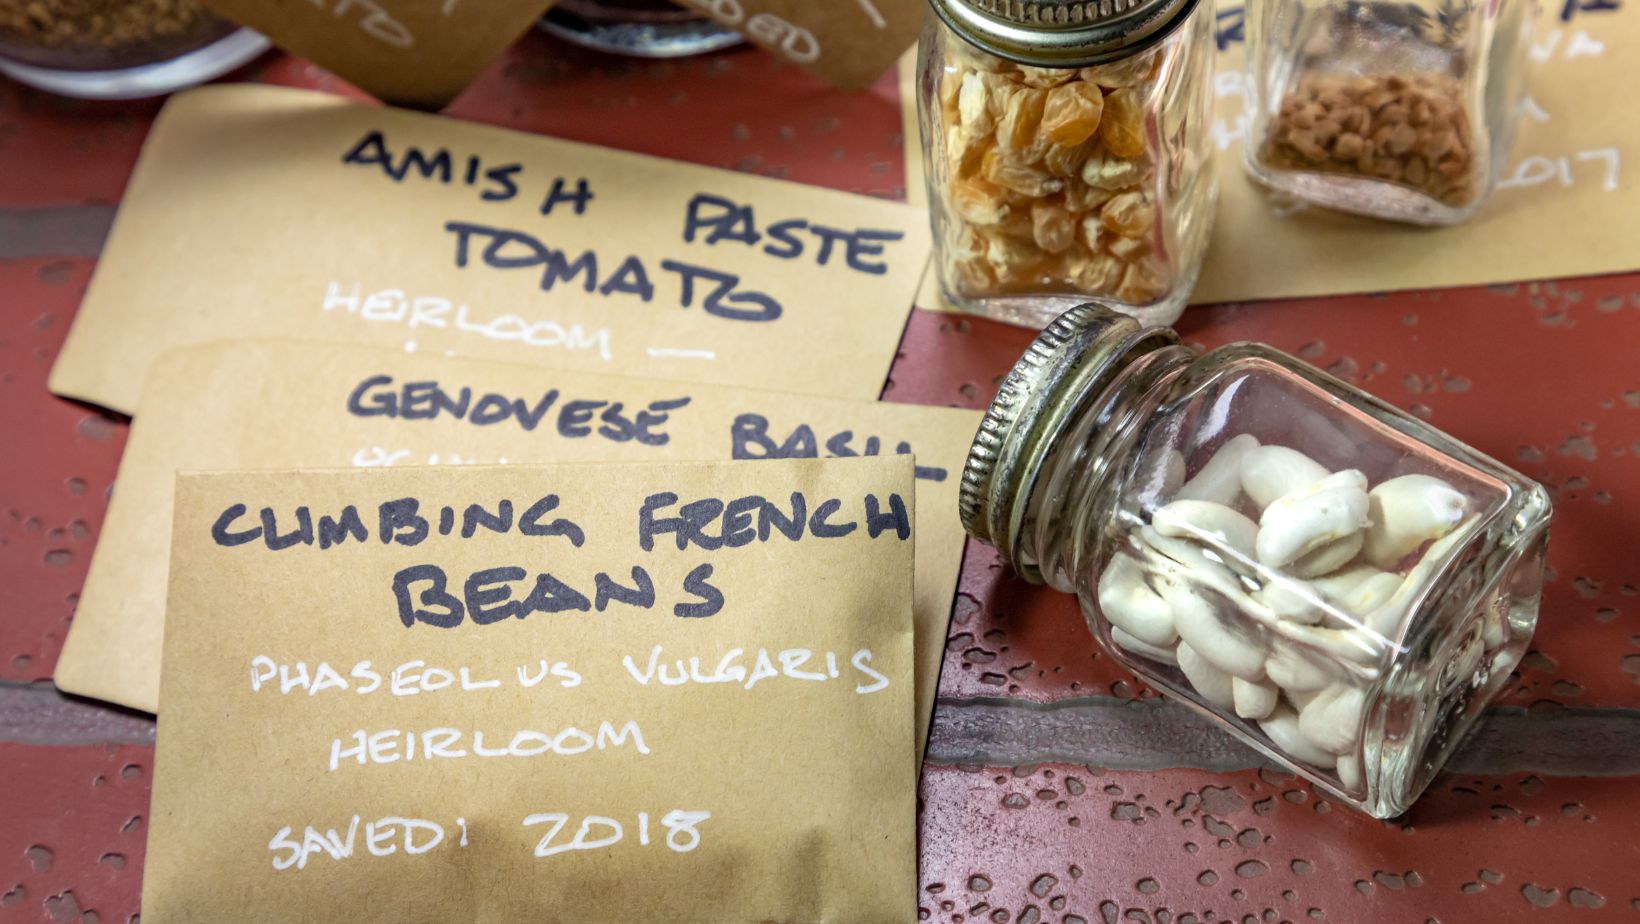
If you have a lot of seed of one particular variety, you can put the loose seed in a mason jar or container of choice for storage. Many will have varieties in individual paper packets, which is nice for organization. These can be tucked into a larger airtight container of choice. If you are restoring seeds after working outside, be sure to give the packets time to dry completely before putting them back in storage so there’s no moisture sealed inside.
Airtight containers are important for keeping out environmental moisture and natural condensation from moving the seeds in and out of storage. Using silica gel packets or homemade packets of powdered milk, rice, or rice hulls inside your storage vessels is an effective way to trap moisture. Think of these additions as an extra layer of protection against storage failure.
Tucking multiple paper packets into a larger glass jar is a fine storage technique.
Dark
Regulating the light that hits stored seeds is the easiest factor to control.
If you’re keeping your seeds in a cool basement that still gets a fair amount of foot traffic, put your seed stash in a paper bag or cardboard box. Cupboards, under the stairs, or any opaque draping will do the job. This is less of an issue in cold storage, though if you open the door of your fridge or freezer often, you may want to think about paper bags inside your airtight containers for assistance.
Sunlight is especially detrimental to seeds. Many seed species need light to germinate, and even if the sun’s rays don’t spur sprouting, they can still promote the natural decay of organic matter, the same way sunlight can result in food spoiling. Think potatoes turning green.
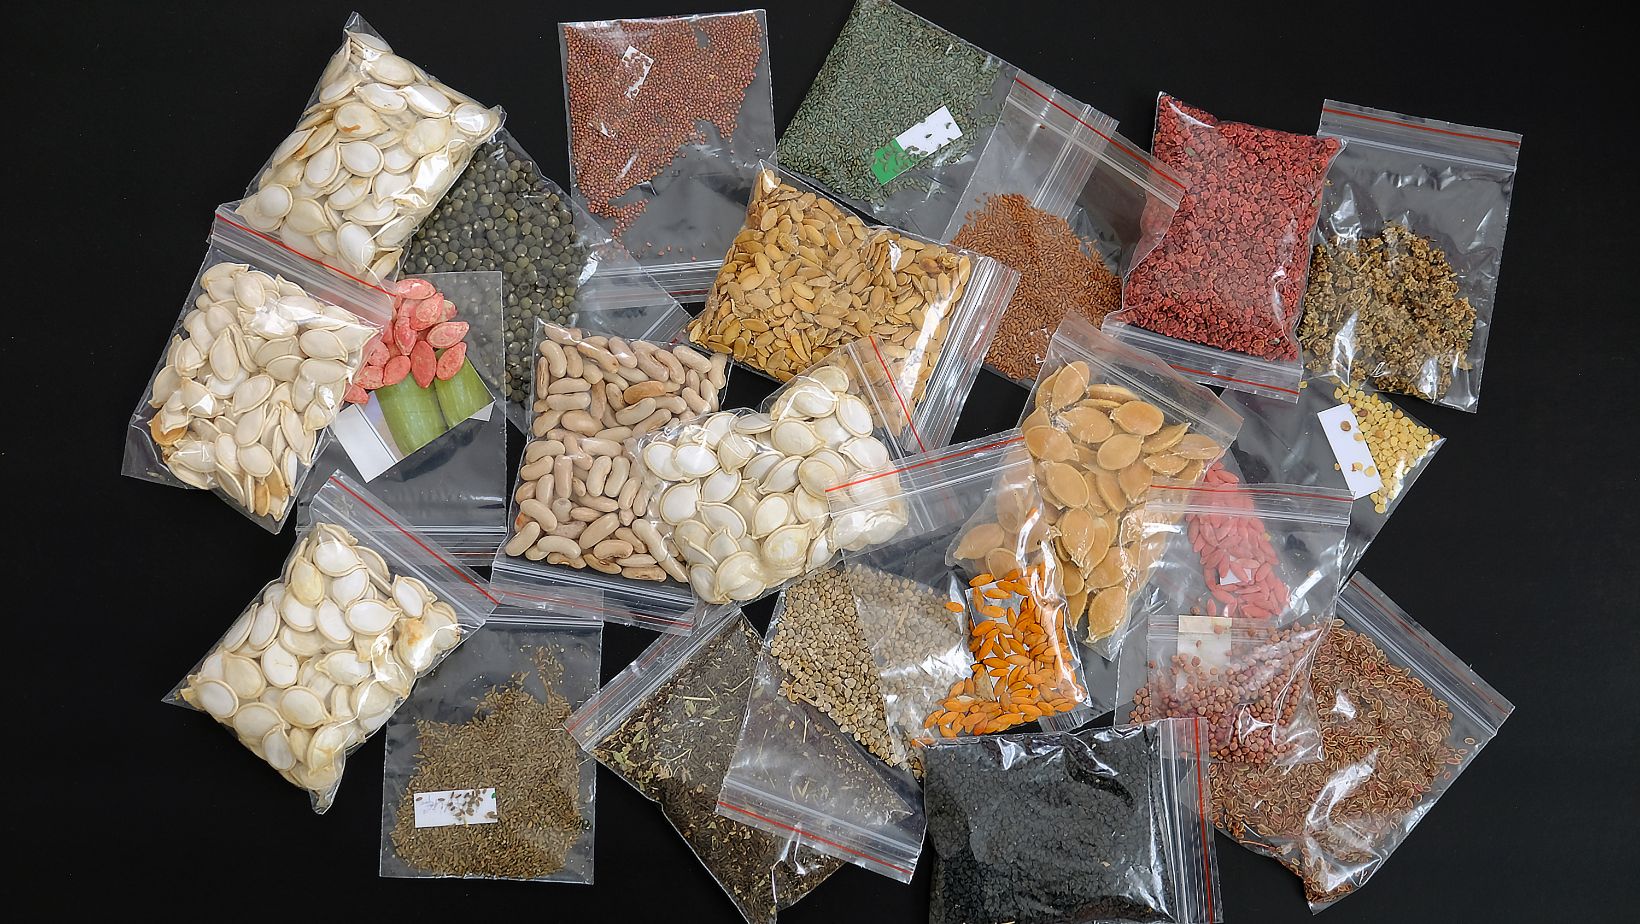
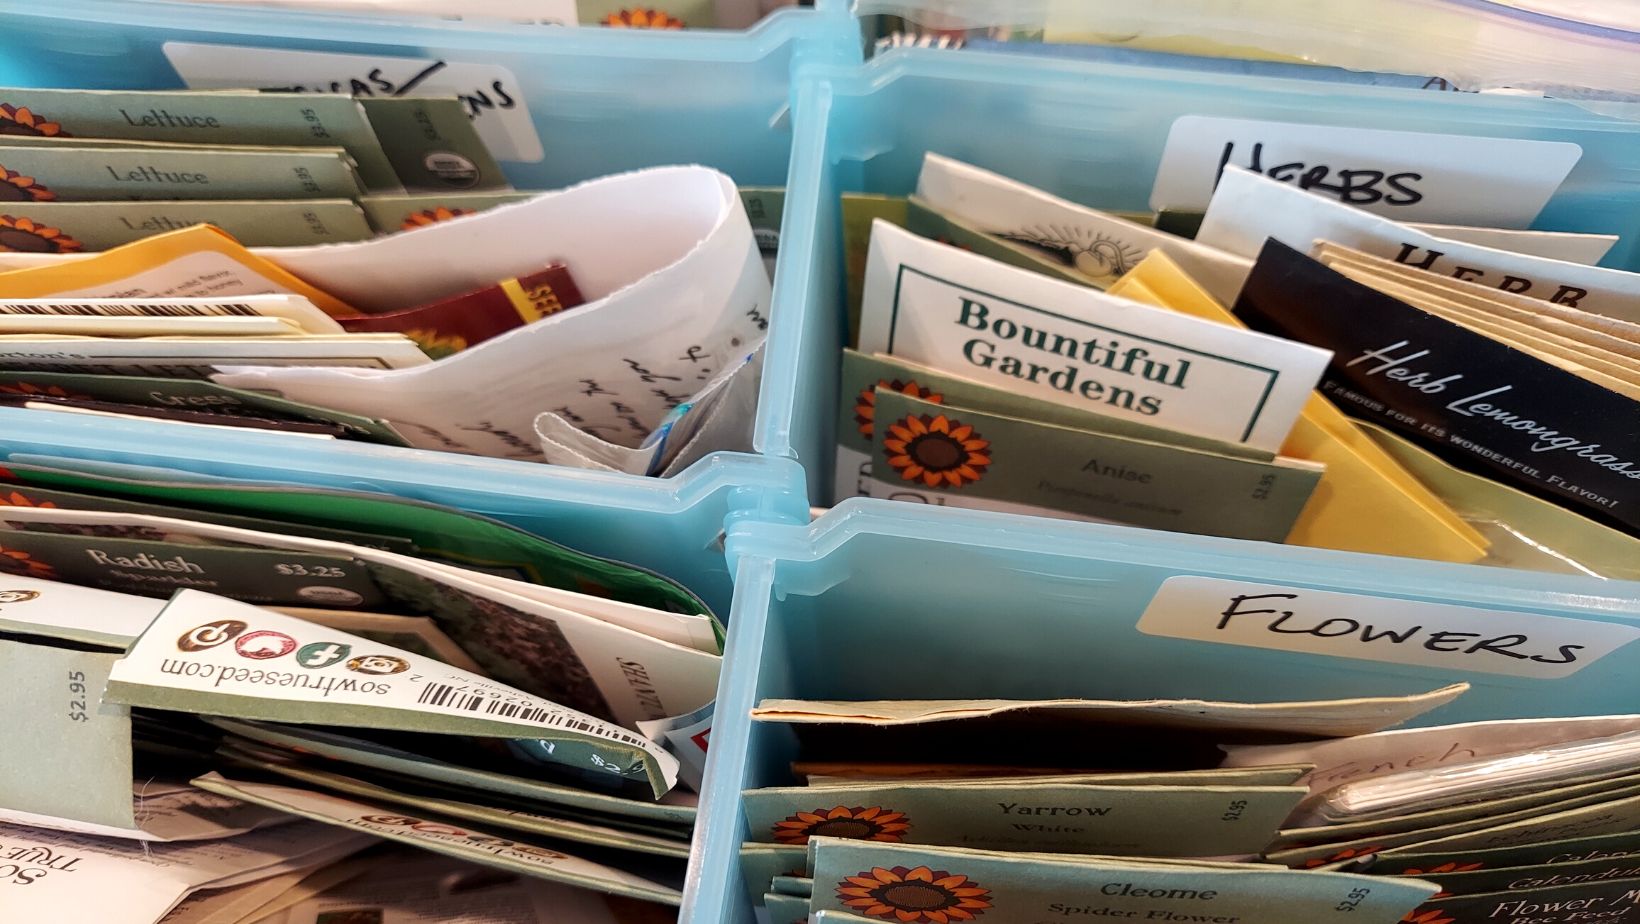
There are many ways to organize packets. This is a repurposed storage container.
Pests
Cool, dry, and dark are the three environmental factors for long-term seed storage. There’s just one more thing to be aware of should you ever need the knowledge: pests!
Pests that can eat, burrow in, or otherwise ruin your seed stash come in many forms. Rodents may be the most notorious. Rats and mice can surprise you by invading your pantry or barn and may eat through stored seed and grain before you even realize you need to set a trap or call an exterminator. If rodents might be a problem, store your seeds in mason jars, metal containers, or other nibble-proof containers.
Insect pests can be heartbreaking to find because the damage they do may not be obvious until it is too late to save the seeds. The most common insects you may encounter are bean weevils and pantry moths, but other beetles, borers, and moth types can become a problem.
Prevention before storage is prudent. Inspect your seeds well before storing at the end of the season to make sure you don’t have any stowaways. If you find any insects in or around your seeds, seal those seeds up in an airtight container and place them in a freezer for 5-7 days. This will kill any infestation and ensure that it doesn’t spread.
Take Aways
Governmental regulations require that seed companies print a “use by” or “packed for” date on their seed packets, but savvy growers know that those dates are only helpful to remind us when we purchased the seeds and less about when the seeds should be thrown away.
The best strategy? Short of building a Svalbard in your backyard, the best plan is to use your seeds within the average lifespan of the crop type. This lifespan differs depending on the crop and storage conditions, so even with optimal conditions, seed loss will occur over time.
Keeping a seed stash on hand can be a practical way to save time and money from one season to the next by having to order less often and purchasing in bulk.
Without proper organization, though, a seed stash has the potential to get out of hand quickly! Find a system that works for you, keep records, and take inventory often. Trade and share seeds with friends and family, and grow what you have before you purchase more.
Good seed-storing practices are an investment in your future crop and garden planning.


